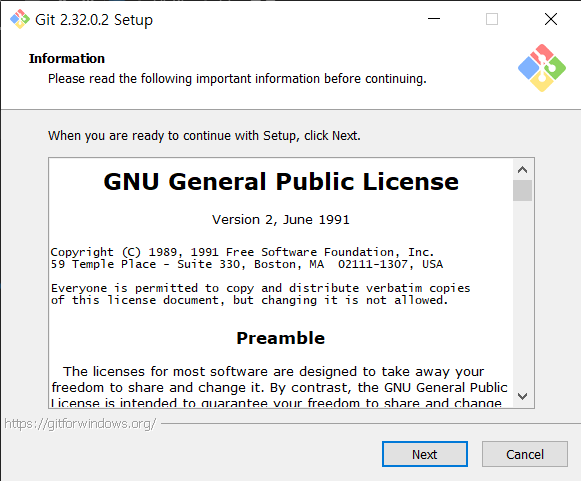
Git을 설치하는 방법에 대해 안내드리겠습니다. 이를 통해 Git의 설치 과정을 한눈에 볼 수 있습니다.
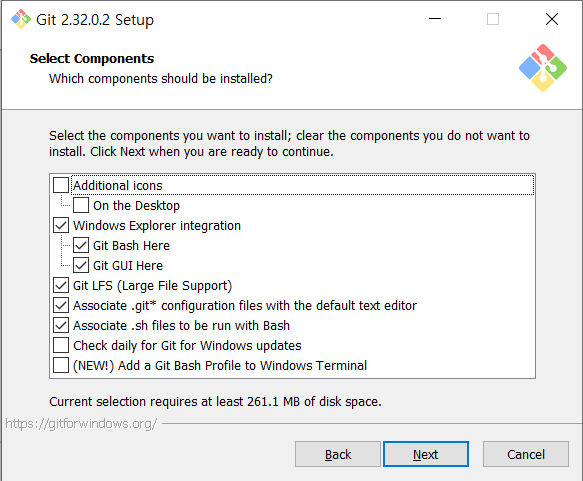
1. Additional icons
1-1) On the Desktop
==> 바탕화면에 아이콘을 추가하시겠습니까?
2. Windows Explorer integration
2-1) Git Bash Here
2-2) Git GUI Here
==> 마우스 우클릭 시 Git Bash, GUI를 표시하시겠습니까?
3. Git LFS (Large File Support)
==> 대용량 파일을 지원하시겠습니까?
4. Associate .git* configuration files with the defalut text editor
==> 기본 텍스트 에디터에 .git 확장자를 연결하시겠습니까?
5. Associate .sh files to be run with Bash
==> Bash와 함께 실행할 .sh 파일을 연결하시겠습니까?
6. Check daily for git for Windows updates
==> 매일 업데이트를 확인하시겠습니까?
7. (NEW!) Add a Git Bash Profile to Windows Terminal
==> 터미널에 Git Bash 프로필을 추가하시겠습니까?
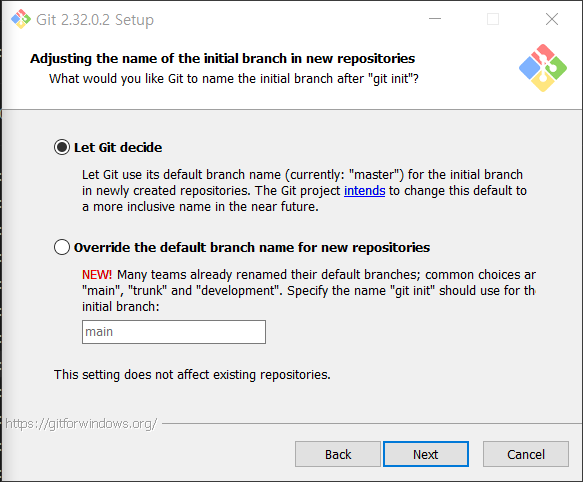
1. Let Git decide
==> Repository 이름을 'master'로 사용합니다.
2. Override the default branch name for new repositories
==> 사용자가 지정한 이름으로 사용합니다. 'main'이 기본적으로 표시됩니다.
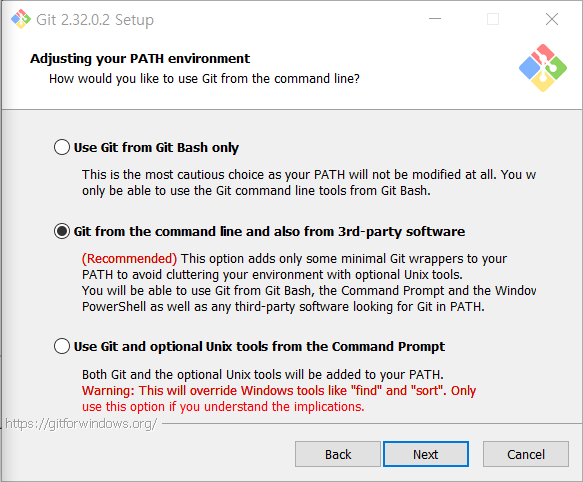
1. Use Git from Git Bash only
==> Git Bash만 사용 가능하도록 설정합니다.
2. Git form the command line and also from 3rd-party software
==>Git Bash 외에도 윈도우 cmd에서도 사용할 수 있도록 설정합니다.
3. Use Git and optional Unix tools from the command Prompt
==> Git 및 Unix 도구를 추가로 사용하도록 설정합니다.
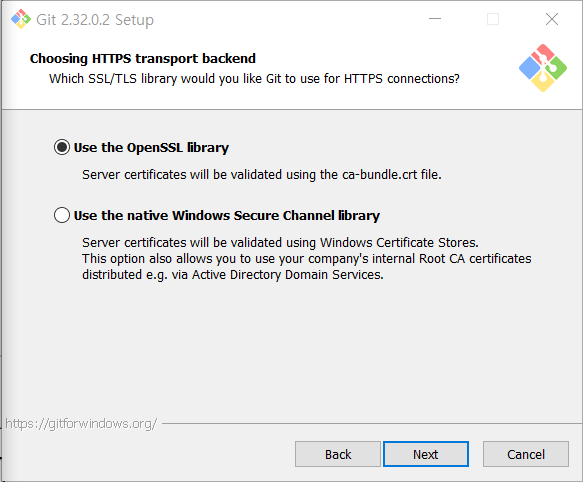
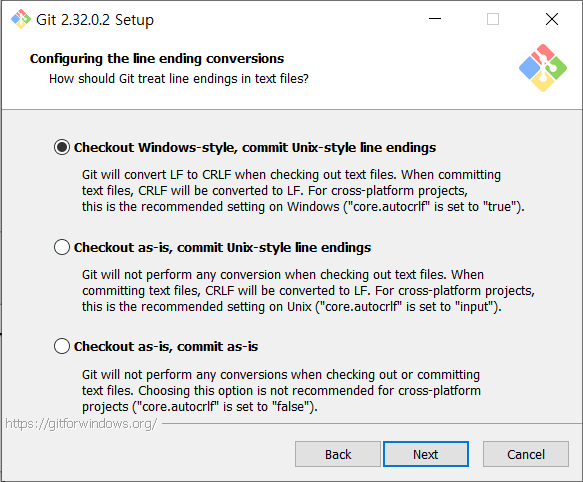
1. Use the OpenSSL library
==> OpenSSL 라이브러리를 사용하도록 설정합니다.
2. Use the native Windows Secure Channel library
==>Windows 인증서를 사용하도록 설정합니다.
추가로, Git을 설치한 후에는 사용자의 Git 계정도 등록해두는 것이 좋습니다.
git config --global user.email "이메일"
git config --global user.name "이름"
위의 두 가지 명령어를 실행한 후, 아래의 명령어를 통해 등록한 정보를 확인할 수 있습니다:
git config --list이상으로 Git의 설치 과정에 대해 안내드렸습니다. 많은 도움이 되셨기를 바랍니다.